WARNING !!! Zip lines could be very dangerous. Once you install your zip line, please test it with weights to make sure cable is secured and the speed of descent using your pulley is safe. DO NOT put your child on zip line before you test it. WARNING !!!
FOR SALE - this entire zip line assembly is now for sale. Please contact me if you are interested to purchase all of the items seen on this page for $200 (shipping extra). This includes - turnbuckle, mounting hardware, cable, pulley, handlebar, connectors. (kids are extra :-).This is a pretty good deal as I have paid close to $350 for all this and had to make numerous trips to different shops to pull it together.
FOR SALE - this entire zip line assembly is now for sale. Please contact me if you are interested to purchase all of the items seen on this page for $200 (shipping extra). This includes - turnbuckle, mounting hardware, cable, pulley, handlebar, connectors. (kids are extra :-).This is a pretty good deal as I have paid close to $350 for all this and had to make numerous trips to different shops to pull it together.
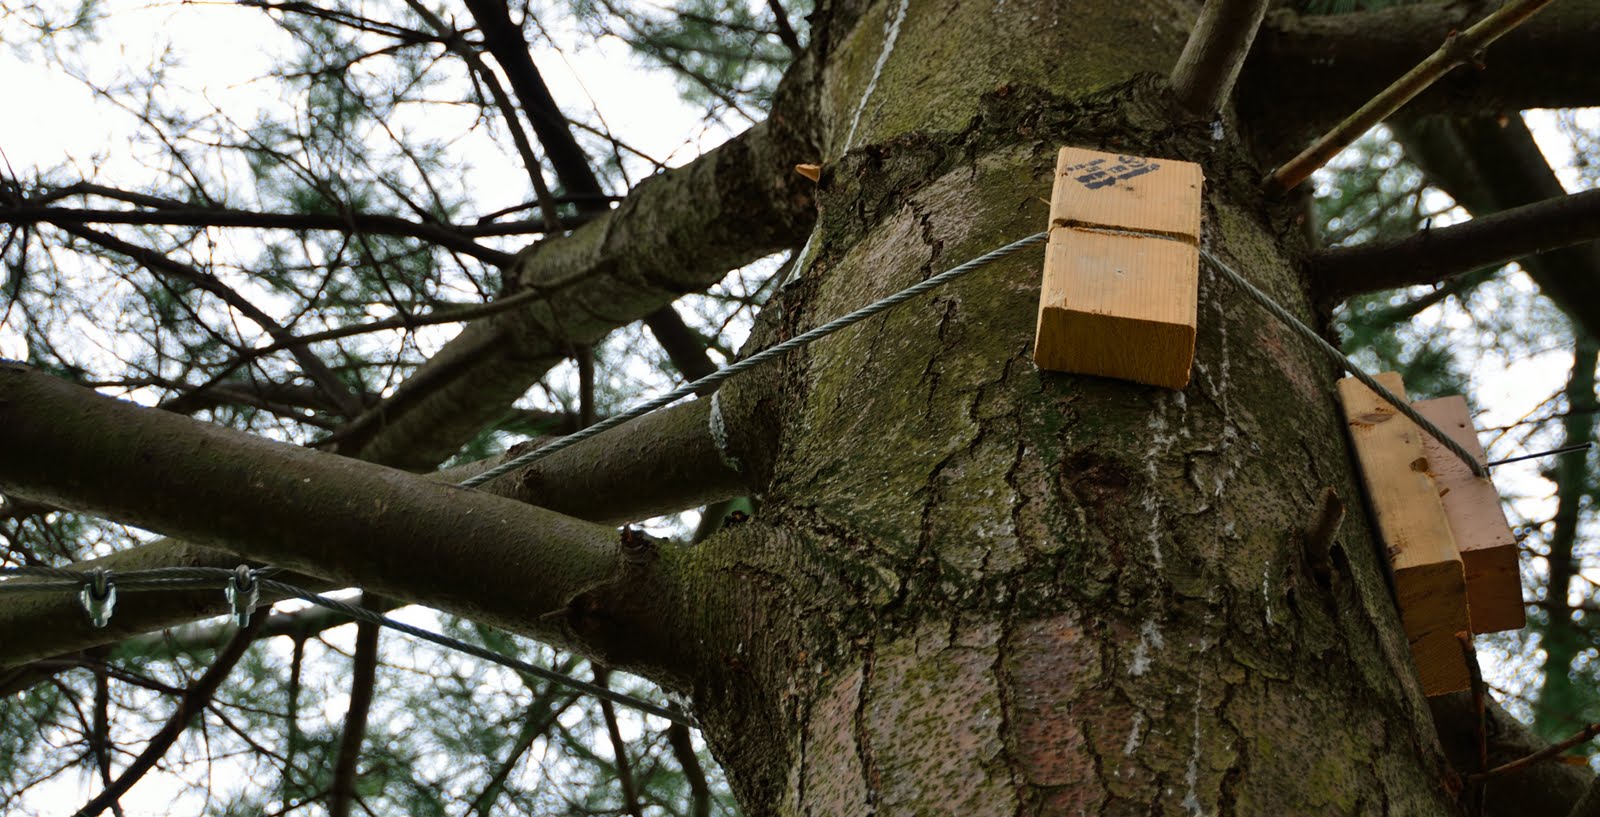
Today we had completed a fun project with my kids - installed a zip line in our backyard. We usually setup a very small 30 feet zip line once a year and use rope for that, but rope is very stretchy and does not work well for zip lines. This time we decided to do it “right”. We went to Lowes and picked up 145 feet of the heaviest metal cable they carry along with two pulleys and fastening hardware for the cable. My backyard has about 6 degree slope and we installed zip line parallel to the ground. Both ends of the cable we connected to the pine trees on the left and right sides of my yard. we have put wooden blocks between the cable and the tree so that cable does not damage the tree bark. I used router tool to make grooves in those wooden blocks so cable will be held in one place. The blocks were nailed to the tree trunk.
We tried using one pulley at first and that was not working
well. Instead we cut two strong metal stripes and connected two pulleys
together.

The hardest part was tightening the cable. I really wish we
had a tool for that. Instead we used a metal bar as a lever to pull the cable. Total
length of the zip line is about 135 feet (~41 meters), so the cable is pretty
heavy and still has a bit of sag. However this sag is not too bad since it
helps to control the speed when kids slide down the line. Just about 8 feet
away from the end of the line we have put a stopper on the cable so that the
rider does not crash full speed into the tree. This stopper is just a simple
metal clamp on the cable – the same kind we used to fasten the cable to the
trunk of the tree. Instead of using handlebars we decided to just use the rope
with several loops for hands and feet – depending on the size of the rider he
could use loops at different height and just “stand” with his feet in the loop,
instead of just hanging on with his hands only. This really helps since at the
end of the zip line the pulley hits the stopper on the cable and the rider
swings forward somewhat violently and can be thrown off the line if not holding
on the rope well enough.

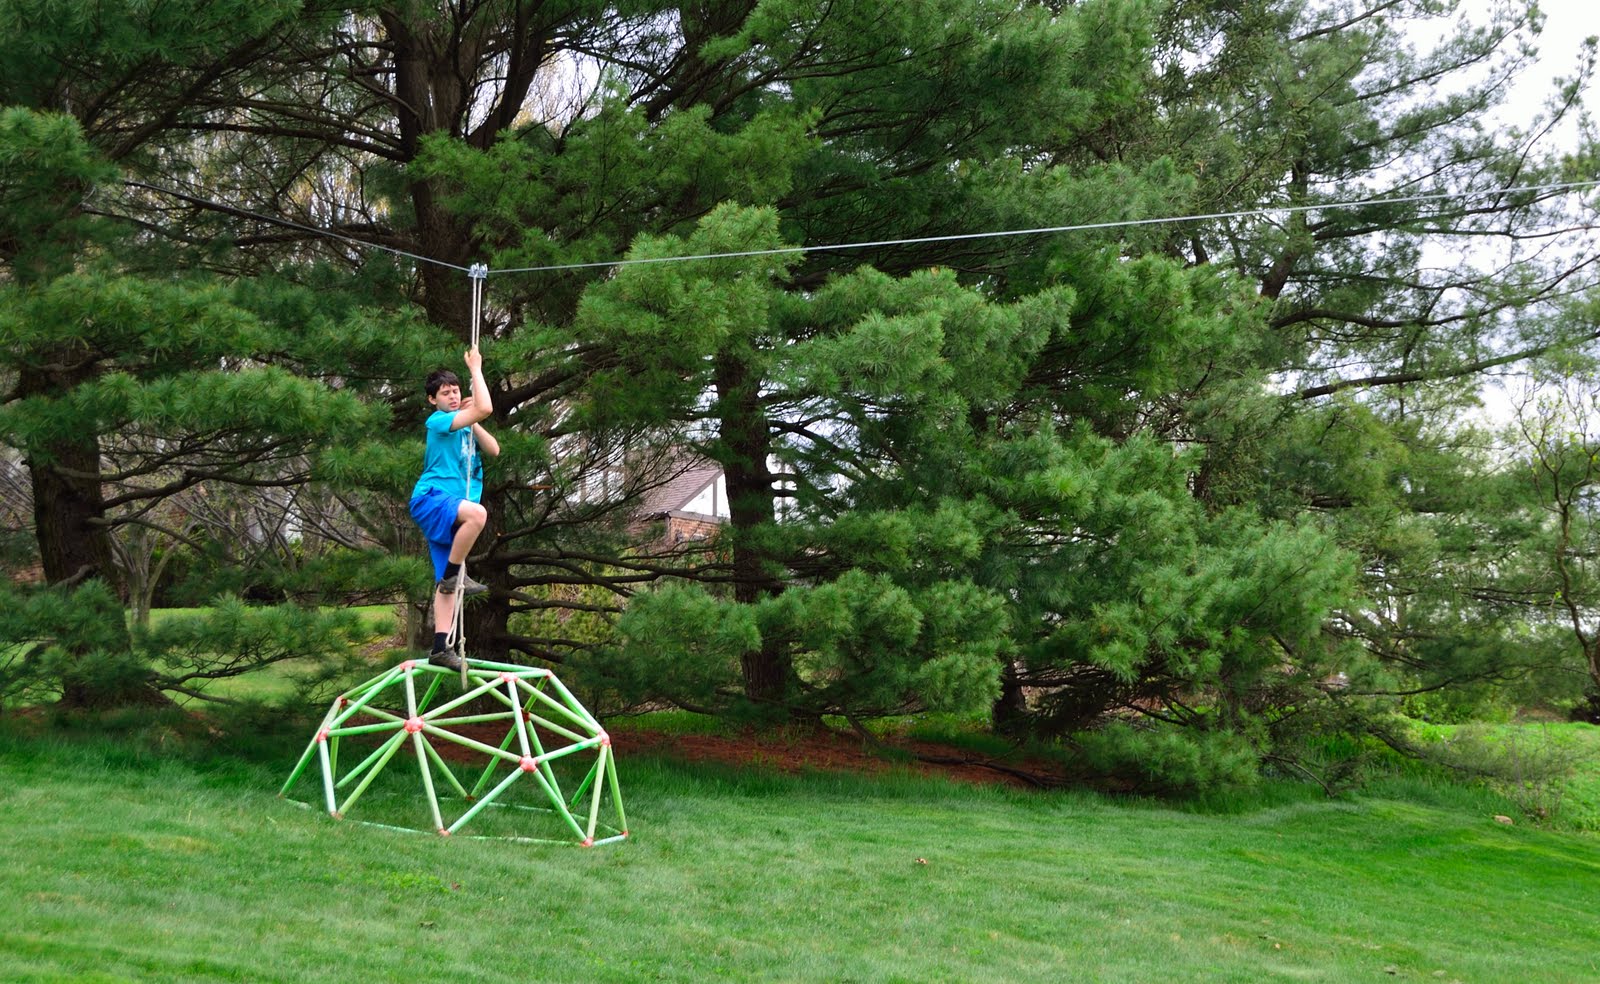


This was a pretty easy project to do, only took about 2
hours and now my boys (and neighbors’ kids) are having a blast.
May 2012 update:
After kids having been using zip line for some time, the rollers completely worn out to the core. These rollers were Lowes $4 a piece (I have two of them coupled) and I need to replace with new ones (which wont last for more than another couple of months), or better yet get a quality rollers really designed for this kind of stuff.
The cable also has stretched quite a bit and I have inserted a turnbuckle (18" for $30) to tighten the cable when I need it. They sell it at one local company called Pennsylvania Sling Company. These guys have an amazing assortment of cables, turnbuckles of any size and all kids of other cool stuff made of metal - all with very reasonable prices. I wish I knew about them before I went shopping for zip line supplies to Lowes. Comparing Lowes and this "Sling" store for zip line stuff is like comparing Seven Elleven (being Lowes) and Wal Mart.

Major problem was with the proper tightening of the steel cable. Here is how I accomplished it (you need at least 2 people to do it):May 2012 update:
After kids having been using zip line for some time, the rollers completely worn out to the core. These rollers were Lowes $4 a piece (I have two of them coupled) and I need to replace with new ones (which wont last for more than another couple of months), or better yet get a quality rollers really designed for this kind of stuff.
The cable also has stretched quite a bit and I have inserted a turnbuckle (18" for $30) to tighten the cable when I need it. They sell it at one local company called Pennsylvania Sling Company. These guys have an amazing assortment of cables, turnbuckles of any size and all kids of other cool stuff made of metal - all with very reasonable prices. I wish I knew about them before I went shopping for zip line supplies to Lowes. Comparing Lowes and this "Sling" store for zip line stuff is like comparing Seven Elleven (being Lowes) and Wal Mart.


June 2012 update:
After my kids have used this setup for a couple of months, the $5 pulley that I have purchased at Home Depot is now completely wasted. In fact, it got wasted looong time ago. The problem is that wheels on that pulley are copper and when you use it on steel cable those wheels get worn out extremely quickly. It really only took a couple of weeks for that pulley to become defunct and zip line was sitting not being used. So I bit the bullet (price-wise) and went on to buy a nice PETZL steel pulley on Amazon for about $79 (ouch!) plus steel handle, etc. all in all for $120. Here is a photo of the pulley (it is tiny!) and steel handlebar:

Again - TEST zip line with something other than your kids (or at least do it yourself) before letting children ride it. At least this is what I would do next time.
UPDATE - August 2013. I decided to dismantle this zip line for safety reasons. There are too many risks of different kind involved here and I want my and neighbor's kids to be safe above having fun.


