While I was at school and later at university, many of my friends were building all kinds of home made electronics: radios, light systems, etc. For some reason I was not interested in soldering and electronics and gravitated to software at one extreme and to woodworking and other things made out of metal, bricks, etc. However my most recent fun project required LED lighting and forced me to learn soldering and basic circuit design, which I have enjoyed very much! Here is how it came about.
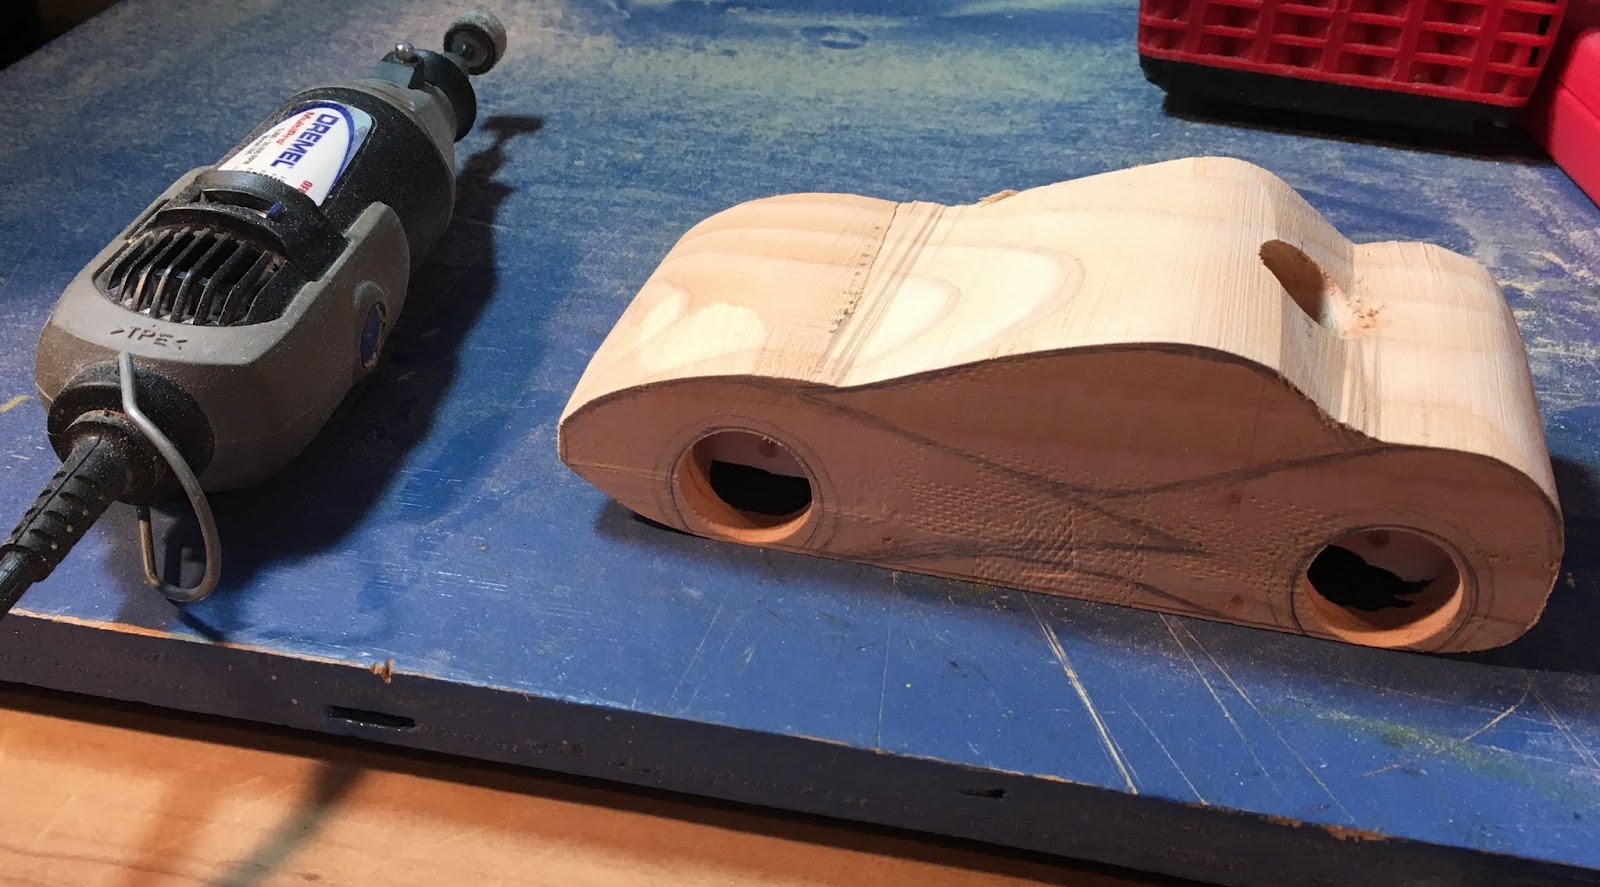
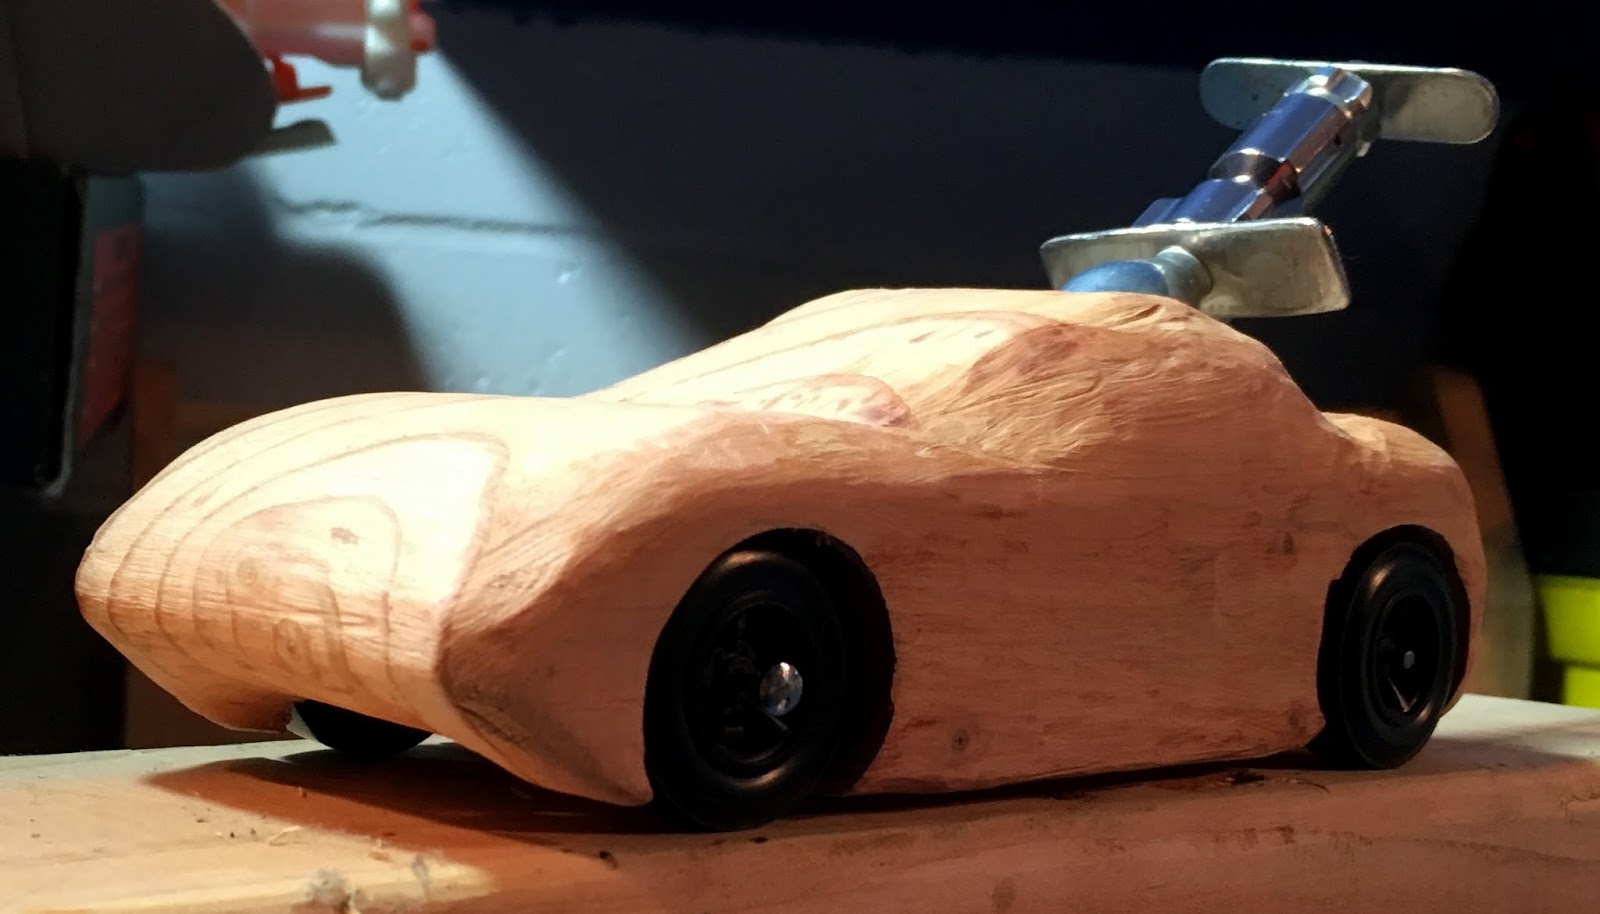
For my 20% project of 2018 at Google I have created a self driving car (details at cloudderby.io). We now use these cars across the world to run customer facing hackathons to teach Google Cloud skills to clients. To built enough cars for those hackathons I had to purchase 20 car kits at the Five Dollar Store. One of the things that was not used for the final car, were the cheap plastic wheels from those kits - we replaced them with rubber wheels for better traction. Hence I had 80 plastic wheels sitting in a box. There is no way I am putting 80 perfectly good wheels into recycling! Hence I decided to build a Google Cloud sign from plywood and used wheels as decoration:

This came out nice, but was a little dark, so I decided to add LED lights to match the colors of the official Google logo:
 Initially I thought to buy a pre-lit LED light and insert it into these letters, but that seemed like a flawed approach for several reasons:


I expect that some LEDs will burn out over time, hence I did not cover any of the LED connection points for easy access. Replacing a single LED in this model will take only a couple of minutes and I have 400 of them sitting in my drawer.


For my 20% project of 2018 at Google I have created a self driving car (details at cloudderby.io). We now use these cars across the world to run customer facing hackathons to teach Google Cloud skills to clients. To built enough cars for those hackathons I had to purchase 20 car kits at the Five Dollar Store. One of the things that was not used for the final car, were the cheap plastic wheels from those kits - we replaced them with rubber wheels for better traction. Hence I had 80 plastic wheels sitting in a box. There is no way I am putting 80 perfectly good wheels into recycling! Hence I decided to build a Google Cloud sign from plywood and used wheels as decoration:

This came out nice, but was a little dark, so I decided to add LED lights to match the colors of the official Google logo:

- Pre-lit lights are bulky;
- They do not have exact number of LEDs that I need and there will be extra lights to be hidden behind the sign;
- They do not have right mix of colors (I need 4 colors for letters);
- If pre-lit light breaks, it may be hard to repair;
- It is not much fun to use ready-made light as I wont learn much.
Hence I decided to build my own LED light. It turns out LEDs are super cheap in bulk. I bought 450 LEDs for $13 on Amazon (aka single LED cost is about 3 cents). When it came to designing a circuit, it turns out you can't simply string together those lights and expect it to work. One has to consider the following factors:
- Total number of wheels (aka LEDs) in my design is 44;
- Power adapter - I selected 12V DC, 1A adapter that plugs into a standard wall outlet;
- Voltage drop on each LED varies from 2V to 3.3V (depending on the color - in my case 2V for yellow and red, 3V for green and blue). This means that serial circuit for 44 LEDs will require a lot more than 12V, hence I needed to split it into many parallel and serial circuits;
- LEDs require resistors in a serial circuit to prevent them from melting because of sudden voltage jumps of the real world power supply (good reading here, here and here).
This is a super basic circuit, but considering that I have not done any of the electricity related calculations since college, nor have I ever done soldering, it took some reading and few YouTube videos :-). Here is the spreadsheet to calculate the number of serial and parallel circuits and resistor values:

This design has 15 parallel circuits consisting of total of 44 LED connections and a couple of dozens of resistors. Google office in Pittsburgh has amazing space with all kinds of equipment, including several 3D printers, computer controlled woodworking machines, laser cutters, soldering irons, fwe hundred drawers with all kind of electronic supplies, including resistors, sensors of all kinds, servos, molding machines, etc. It is a paradise designed to help Googlers with their hobbies. I believe there is a rule that one is not allowed to use it for work related stuff - only for fun and 20% projects. I think more companies should have these kinds of facilities for their employees. Here is a small corner of this space:

One thing to note looking at the picture above - I drilled two little holes for each of the LED legs and to avoid confusion, oriented all of the holes in exactly the same way - positive on the right, negative on the left, however this posed minor issue during wiring - you can see that I should have oriented holes linearly to avoid wiggly wires going from plus leg of one light to the minus terminal of another and that wire having to be bent twice. The reason the wire cant be run directly is that for LED to stay in place, I bent the tip of the leg outward and there is only 2 mm of that to be used for connection, hence I had to orient the wire in parallel to that little 2mm piece of the LED leg.
Another improvement that I would recommend is to avoid several long connecting wires that can be seen on the photo below and simply break up some of the circuits into two and not have to connect LEDs in blue "G" and "g" letters and red "o" and "e" letters.
The wiring was quite time consuming, especially the installation of LEDs into plywood and measuring, cutting and arranging connector wires. Soldering turned out to be the absolute easiest and fastest part of it all! Thanks goodness for Holidays, just finished the project at home last night:

I expect that some LEDs will burn out over time, hence I did not cover any of the LED connection points for easy access. Replacing a single LED in this model will take only a couple of minutes and I have 400 of them sitting in my drawer.
Here is what the final result looks like:

Happy New Year 2019 my friends!!!
I wish you all peace, good health, and many fresh creative ideas! :-)


 <
<